
Flopping at Speed
Speed is critical on solo game projects – you don’t want to be grinding away for too long on a doomed project or you’ll wake up realising you’ve wasted nine months on a game nobody will ever play – so prototype quickly, iterate in small chunks and playtest often.
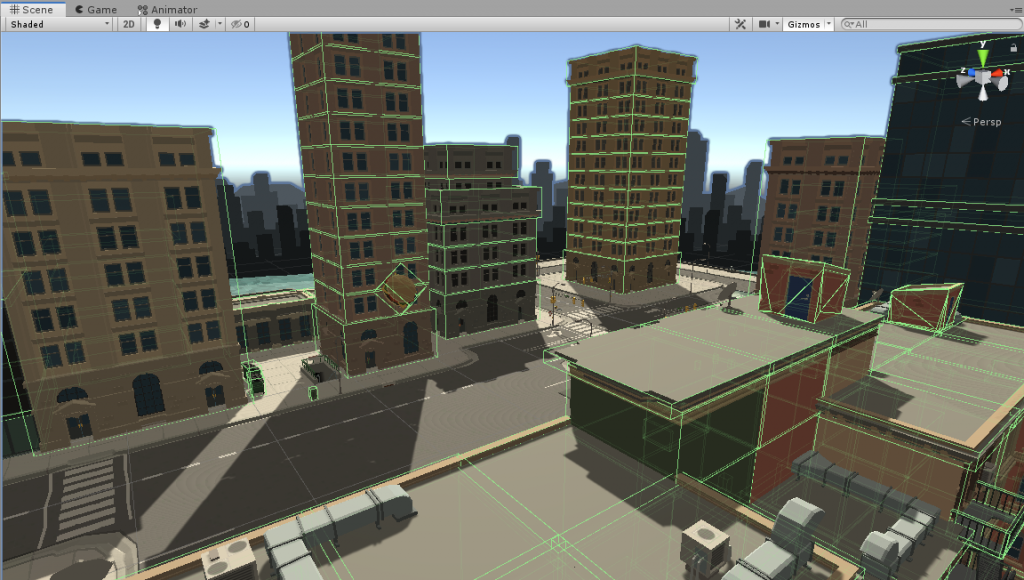
Step 1) create a city environment
Step 2) make the player fly around
Step 3) make the player turn into a ragdoll if they hit a wall
I’m using Unity as a game engine, so there’s a few ways we can save time here.
Step 1) create a city environment

I started this project in the middle of an Asset Store sale, which was a boon. I went and hoovered up a few packs of 3D models on the cheap, including the Polygon City pack from Synty Studios and an unrelated pack of superhero-themed characters to provide the animations. I looked for Mecanim-compatible animations so that they’d work with the characters from the Polygon City pack – we don’t want to combine models of wildly different art styles in the same game, and I don’t particularly want to use the unfortunately-proportioned female characters from that pack.

The Polygon City pack came with a very nice example scene representing a few city blocks. I used this as a starting point. After basically Ctrl-A selecting every gameobject and adding a collider to it, it was ready to go.
Step 2) make the player fly around
Easy enough to start with – I imported Unity’s old Standard Assets pack, because it’s got a nice third-person character controller script included, as well as a useful set of camera rigs. I just whacked those down and got to work creating an altered version of the character controller that allows a new kind of movement.
if (flying)
{
    HandleFlightMovement(move);
    m_Rigidbody.useGravity = false;
    HandleFlightRotation();
}

void HandleFlightMovement(Vector3 move)
{
    m_Rigidbody.velocity = Vector3.Scale(move, new Vector3(flightSpeed, flightSpeed, flightSpeed));
    m_GroundCheckDistance = m_Rigidbody.velocity.y < 0 ? m_OrigGroundCheckDistance : 0.01f;
}

void HandleFlightRotation()
{
    transform.LookAt(LookTarget);
    transform.Rotate(90, 0, 0);
}
That’s it! Eighteen lines of code and my boy is in the air. No idea why we allow the aerospace industry to keep poisoning the planet when it’s this easy.
Step 3) make the player turn into a ragdoll if they hit a wall
This bit is harder. Unity has a built-in ragdoll system which basically takes a character model and asks you to drag-and-drop different parts of the model to represent arms, legs, pelvis and so on. Then it creates a copy of the model which is physically simulated as a ragdoll instead of following the motions in an animation file.

The problem is that when the animated model hits something we want to swap it out for the ragdoll, but the ragdoll will be in a default pose when we swap it. We want the swap to be seamless so the player doesn’t notice, which means we need the ragdoll to not only follow the model, but also follow whatever animation the model is playing at the time.
So I added a script on the ragdoll that, at the start of the game, assembles a list of all its bits and remembers which bit on the ragdoll corresponds to which bit on the model. It would be better if this could be done when the ragdoll’s built in the Unity Editor (because then the game wouldn’t have to do this extra processing whenever a character is created) but I don’t know how to do that yet and speed is critical, so sod it.
public void LerpToModel()
{
    RagdollBone.position = Vector3.Lerp(RagdollBone.position, ModelBone.position, Time.deltaTime);
    RagdollBone.rotation = Quaternion.Lerp(RagdollBone.rotation, ModelBone.rotation, Time.deltaTime);
}
Then every physics update we tell the bones of the ragdoll to ‘lerp’ (that’s short for ‘Linear Interpolation’ – basically means ‘move this value smoothly towards this value’) from their current position to the position of their corresponding bone on the model.
Now the fun bit:
void OnCollisionEnter(Collision other)
{
    if (other.relativeVelocity.magnitude > ImpactThreshold)
        EnableRagdoll();
}

public void EnableRagdoll()
{
    GetComponent<SuperheroCharacter>().ExitFlight();
    Ragdoll.gameObject.SetActive(true);
    GetComponent<RagdollFollower>().ApplyVelocity(GetComponent<Rigidbody>().velocity);
    MainCamera.SetTarget(RagdollRoot.transform);
    gameObject.SetActive(false);
}
If the impact force is high enough, we disable the model and enable the ragdoll and – crucially – we apply the model’s velocity to each bone on the ragdoll. That way the ragdoll doesn’t just stop dead as soon as it activates.
Fun sidenote – I got this bit extremely wrong at first because other.relativeVelocity.magnitude is not the way to calculate the force of a collision. More on that in a later post.
It works! Sort of. I try flying around and hitting things and most of the time my superhero turns into a ragdoll and flops to the ground. After some boring code to turn the ragdoll off and turn the model back on after the ragdoll stops falling, I’m free to muck around with the new toy I’ve built.
It’s kind of fun! Not as fun as Superman Returns (2006) but far from the worst time-spent to fun-created ratio of my past projects.
Next up: we need some hapless civilians to rescue. That means more ragdolls.
Leave a Reply